Cycladic figurine: from 72 photos to a measured mesh
How to process the cycladic figurine dataset. A step by step guie in KIPES: tie points, camera orientation, scale, self-calibration, then a dense point cloud and a mesh in millimetres.
The dataset: 72 photos in one zip, 240 MB
The dataset
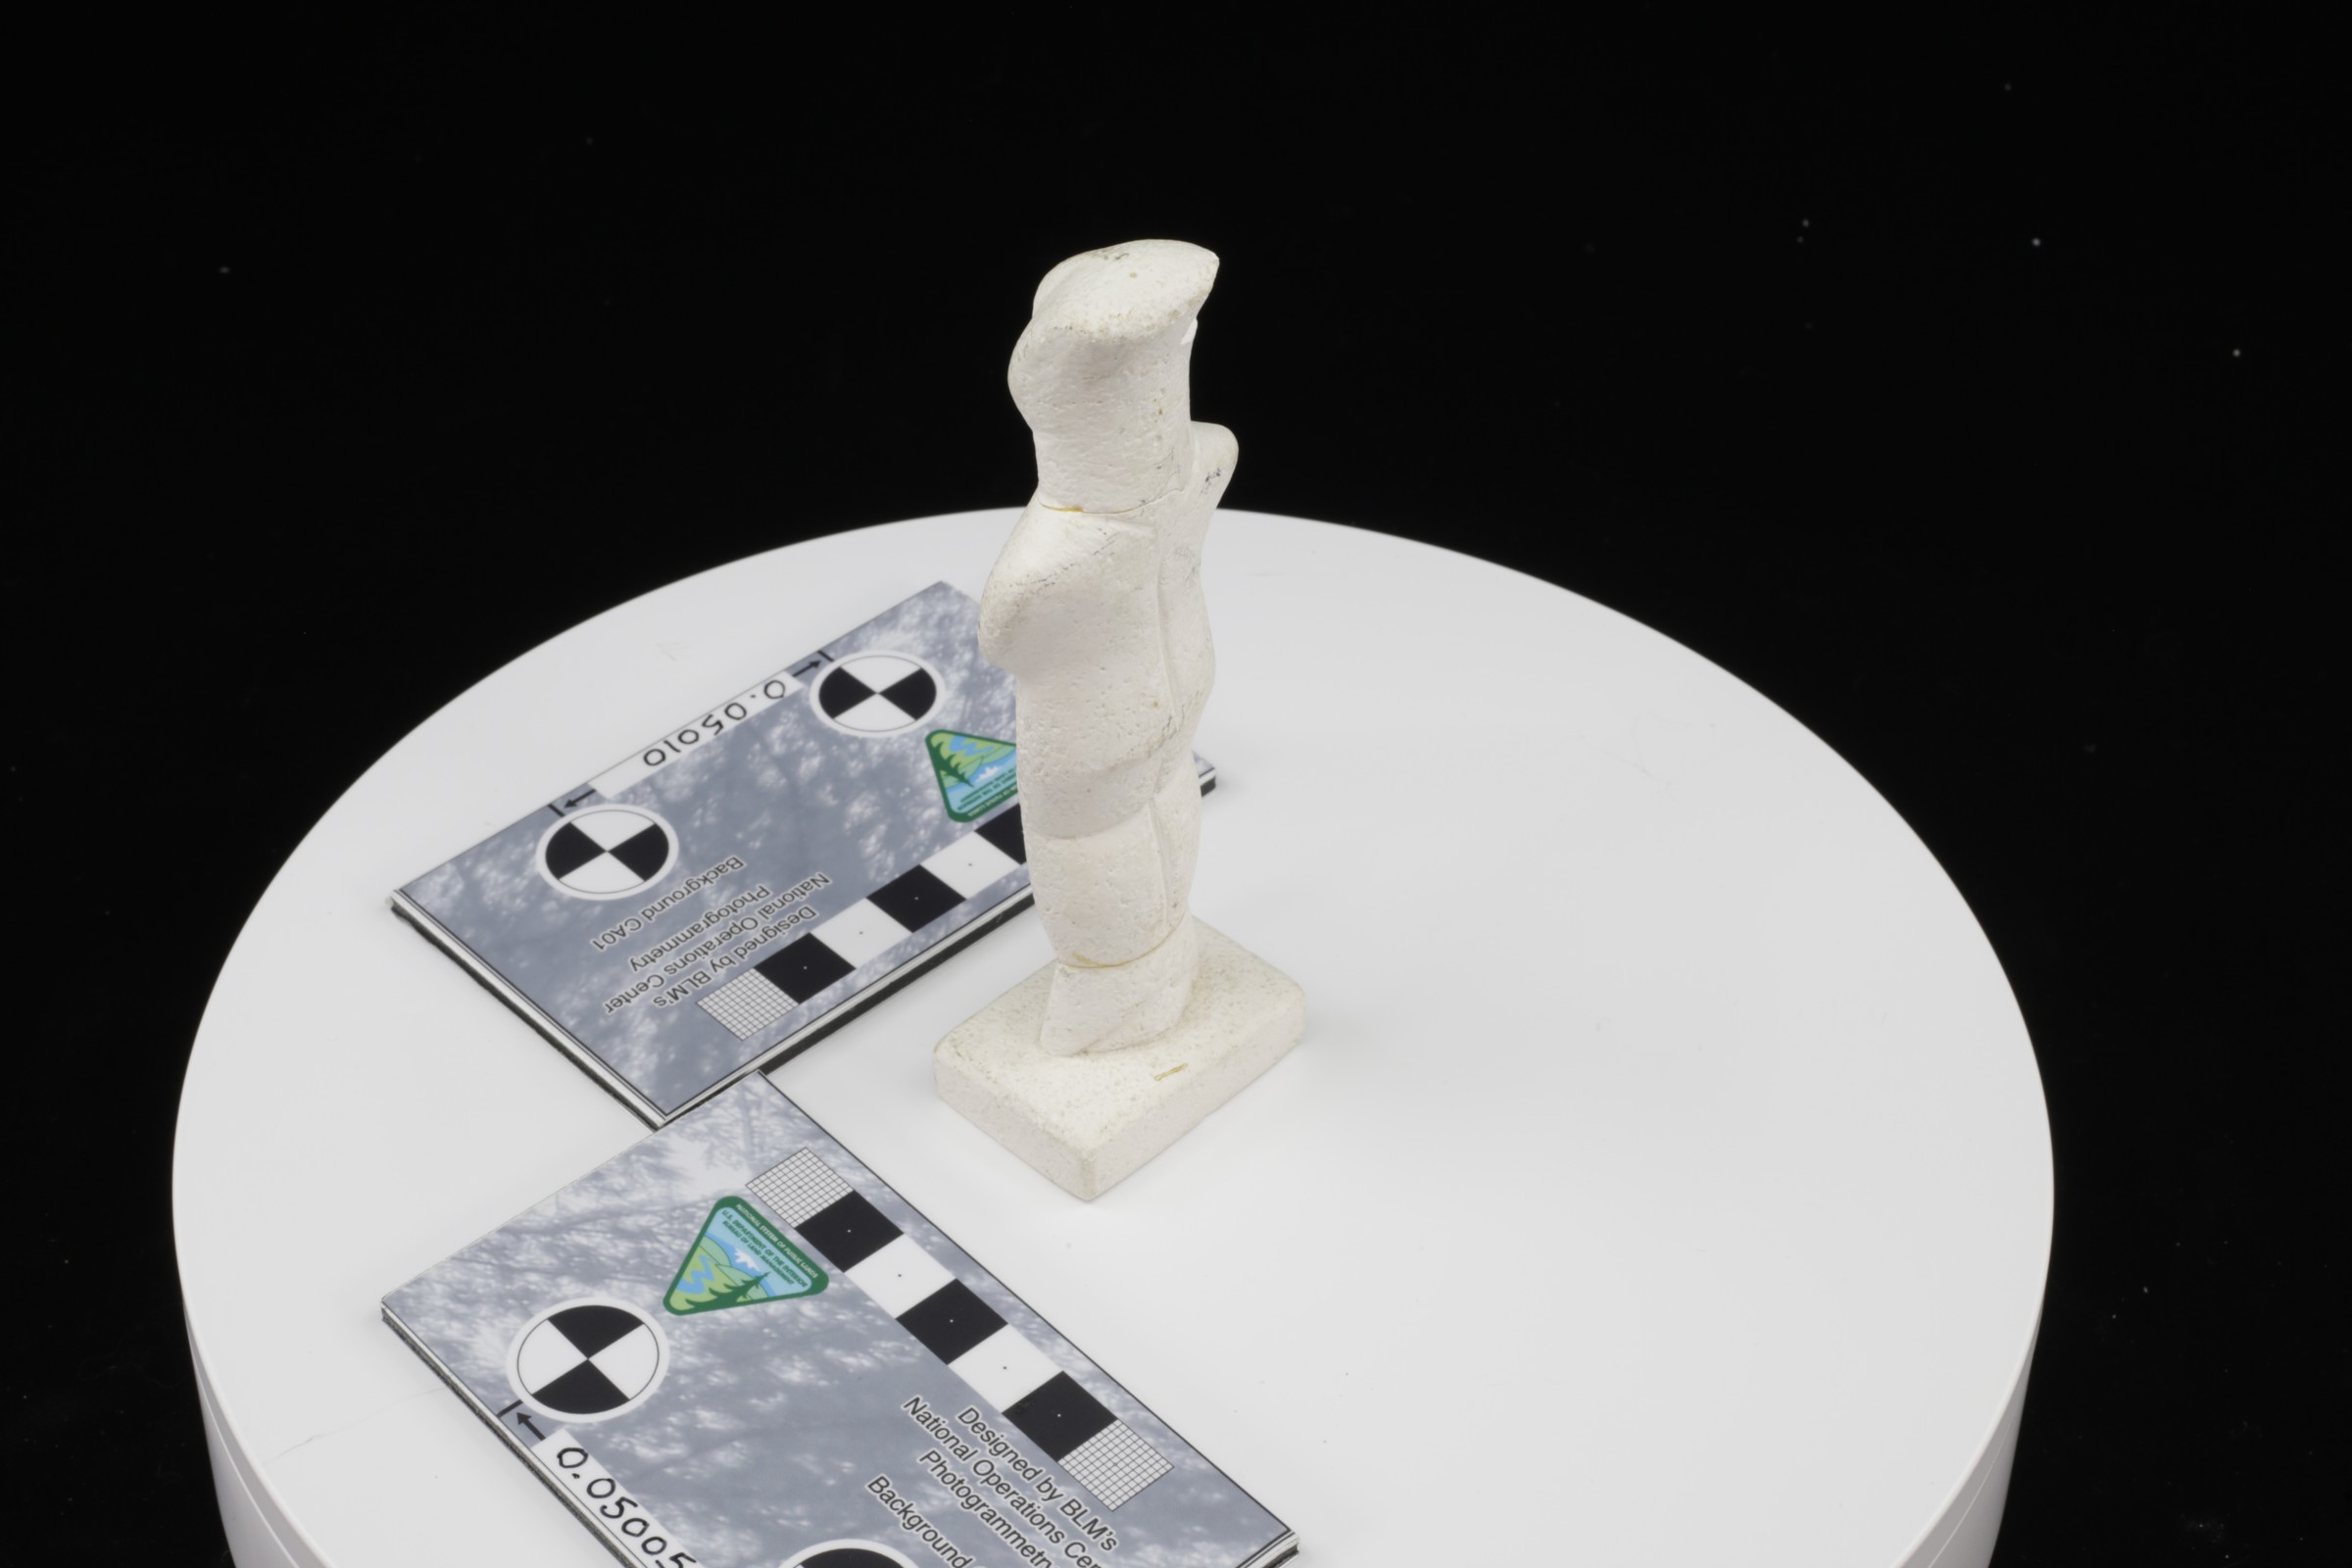
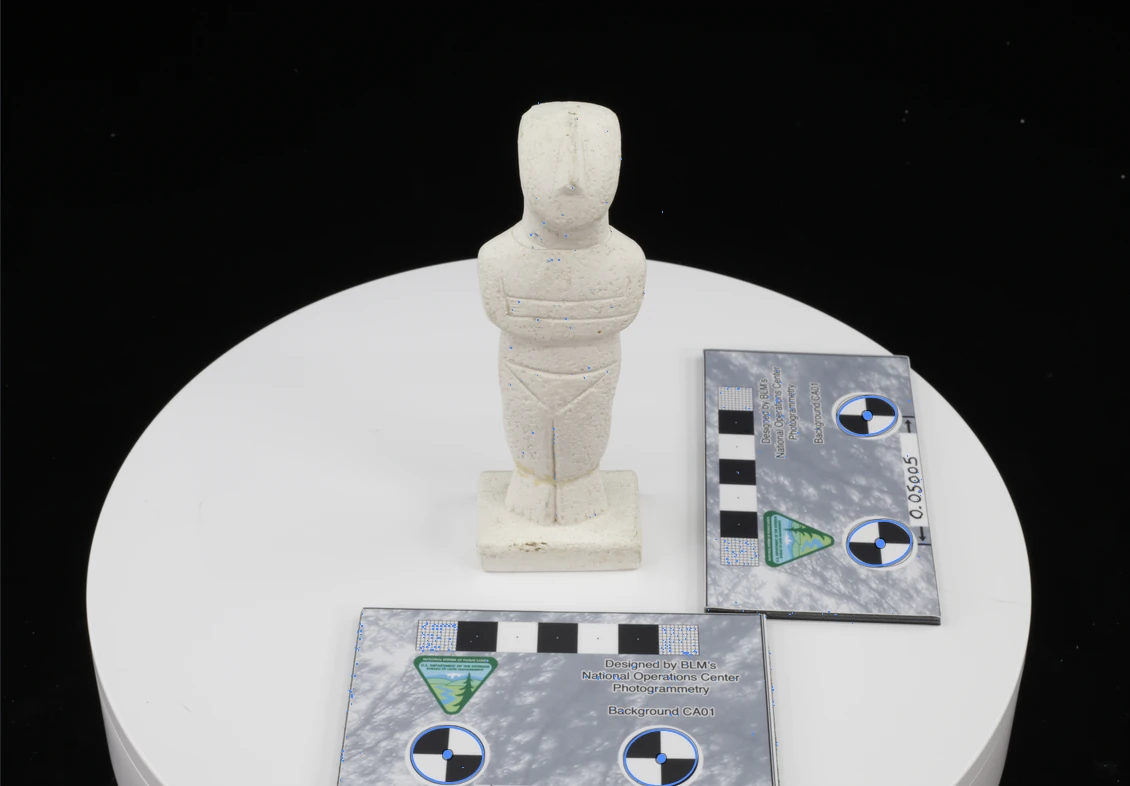
Chad Everett Hutchens and Charles Koenig published 72 photos of a replica Greek Cycladic figurine for a lesson on 3D digitization, under CC BY 4.0. A Canon EOS 5D Mark III with a 50 mm lens took them in three rings of 24 around a turntable, each 5760 × 3840 pixels. Two printed scale cards lie beside the figurine. Each card carries two circular targets, and the distance between them is written on the card: 0.05005 m and 0.05010 m.
Download the zip (240 MB) from the dataset's page and unpack it: https://doi.org/10.15786/16543554
1. Create a space and a subspace
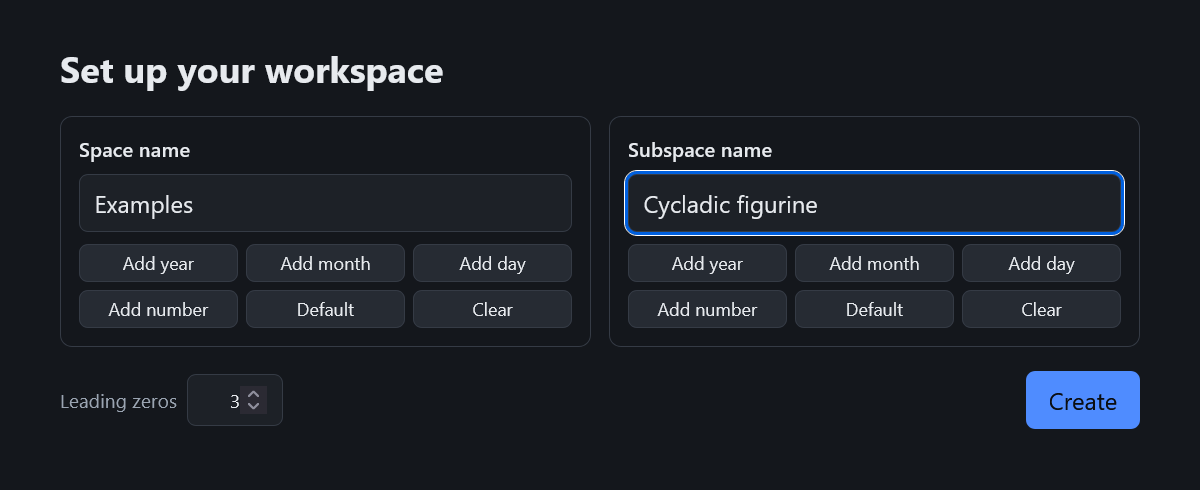
On the first start, KIPES opens Set up your workspace. Type a space name and a subspace name (here Examples and Cycladic figurine) and press Create. Later spaces and subspaces are added with the + buttons in the sidebar.
2. Import the photos
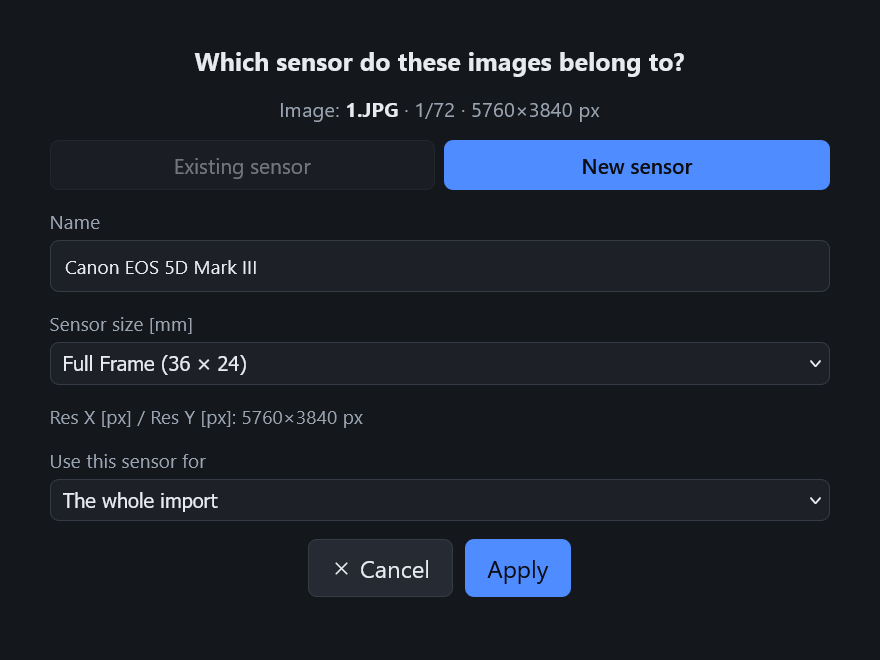
On the Workspace tab, the import button of the Images card opens the file dialog: select all 72 JPGs. KIPES reads the camera from the files and asks once for its sensor. Keep the name Canon EOS 5D Mark III, choose Full Frame (36 × 24) as the sensor size and The whole import, then press Apply.
3. Detect tie points and the card targets
Open Target Detection.
- Choose the target type Precise under Natural features, set Keypoints per image to 50000 and start the detection for All images. KIPES finds natural features in every photo and links the same points across the photos.
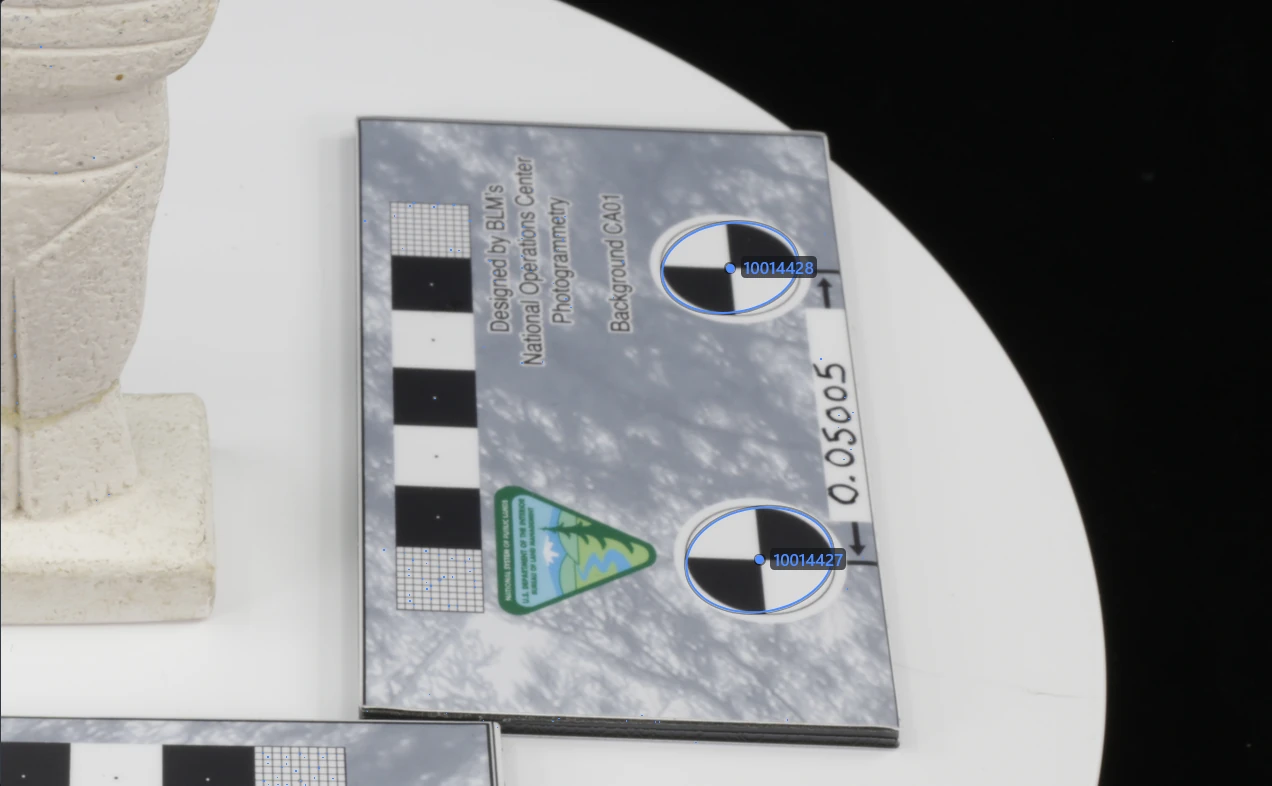
- Choose Quadrant circle and start All images again. Confirm the question with the red Delete button and leave Also delete … other types unticked: nothing is deleted then. KIPES finds the four card targets in the photos.
4. Orient the cameras
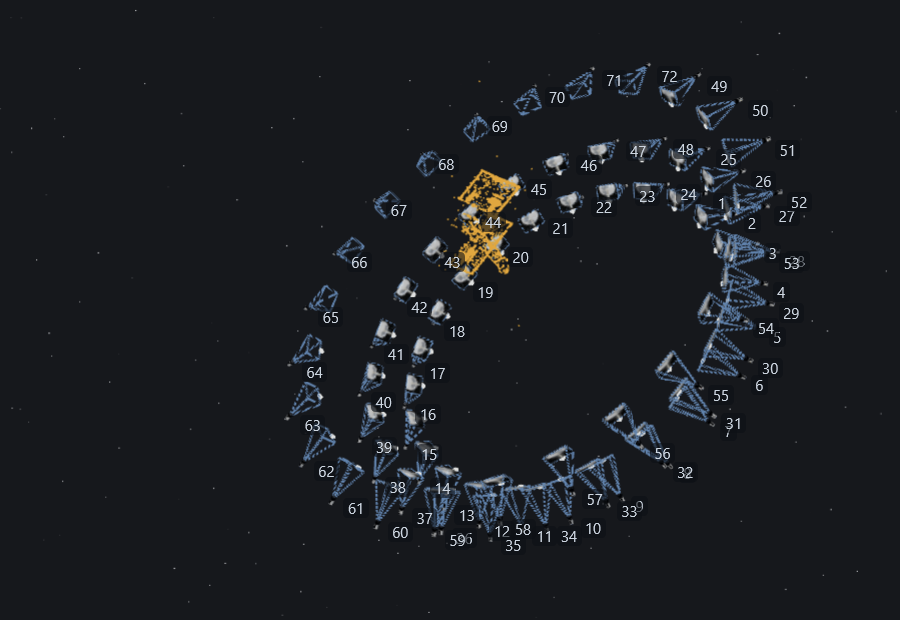
Open Relative orientation and press Compute with the settings as they are. All 72 cameras take their places in three rings around the figurine; the camera's focal length and its main lens distortion are estimated on the way.
5. Give the network its scale
- Press Resect: the four card targets get point numbers.
- Look up which numbers sit on which card; Target Detection shows them on the photos. In our run, 10014427 and 10014428 lie on the 0.05005 card, 10014426 and 10014429 on the 0.05010 card.
- Under Constraints, add a Scale bar for each card: its two points, the length in millimetres (50.05 and 50.10) and the status Fixed.
- Press Compute again and confirm Overwrite. The network is now in millimetres; both cards fit it to 0.01 mm.

6. Calibrate the camera in the bundle adjustment
A new sensor's lens parameters are set to Free (see the Sensors tab), so the bundle adjustment calibrates the lens together with the network. Open Bundle Adjustment, add the two cards under Constraints again, this time as Stochastic scale bars with σL = 0.01 mm, and press Compute.
In our run all 72 cameras and 8 623 points fit with a reprojection error of 0.77 pixels, and both cards agree with the network to 0.024 mm.

7. Dense point cloud and mesh
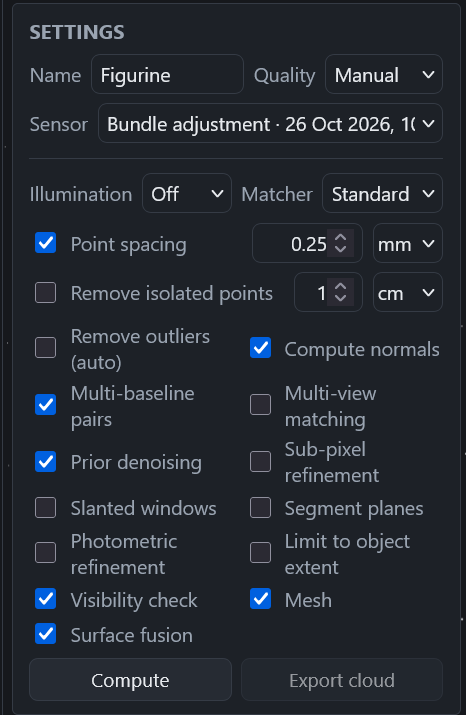
Open 3D Reconstruction and set:
- Sensor: the bundle adjustment
- Point spacing: 0.25 mm
- Multi-baseline pairs, Mesh and Surface fusion: on
Leave the other options as they are and press Compute. KIPES matches 144 photo pairs and fuses their depths into one surface.
The result
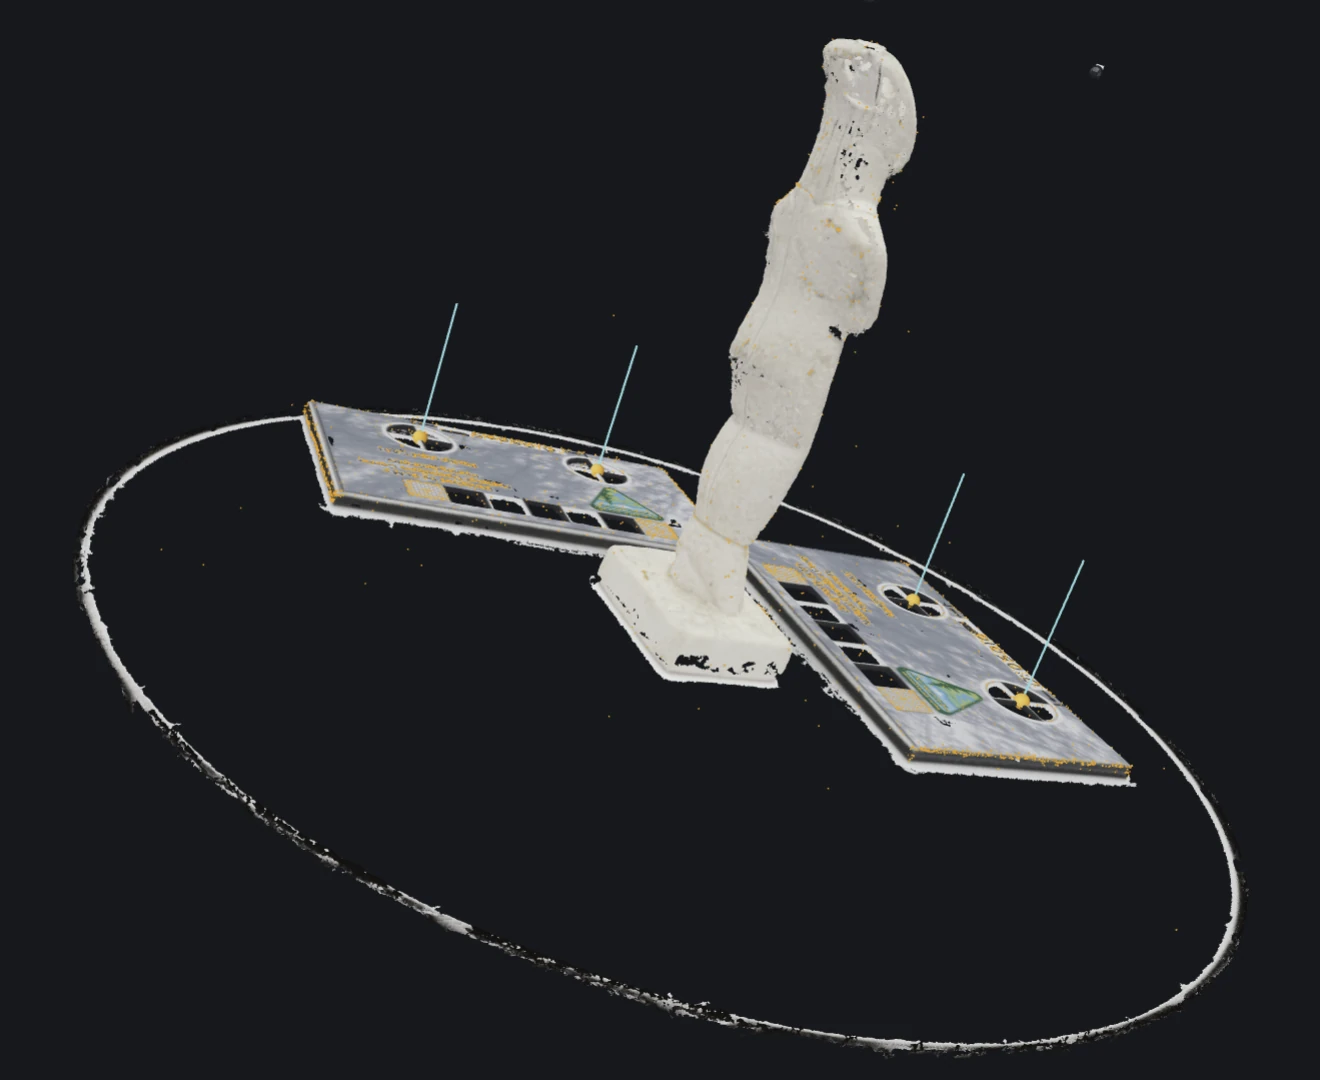
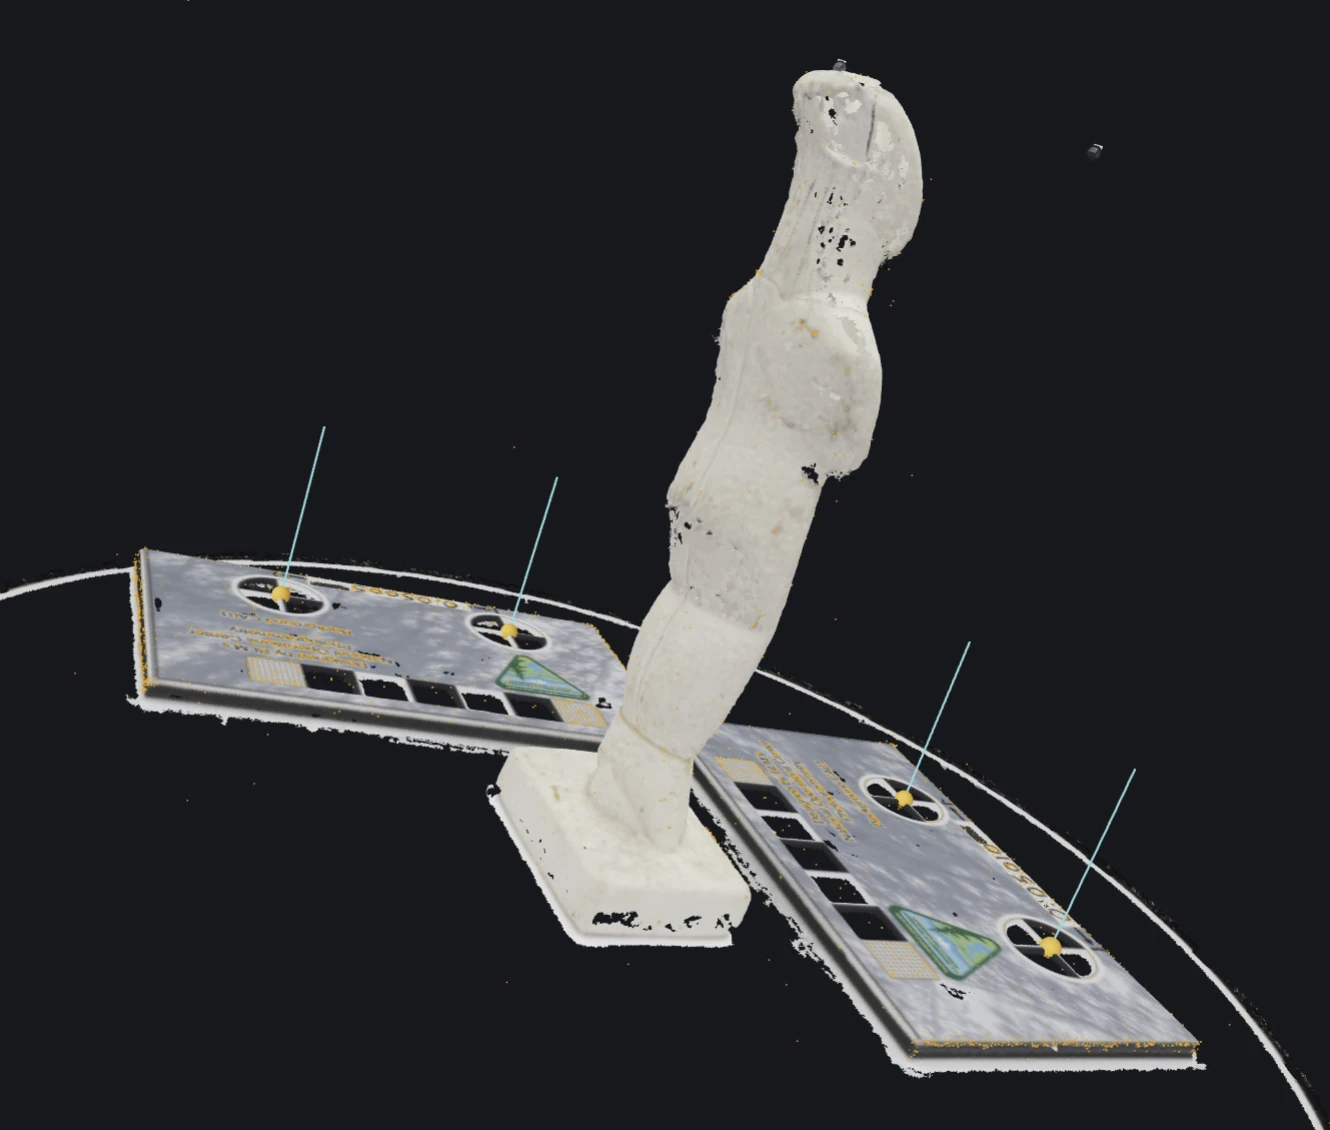
About 790 000 points and 1.5 million triangles, in millimetres. The figurine keeps its folded arms, the waist line and its base; the print, the logos and the targets of both cards can be read on the surface. Where few photos look at the surface, at the top of the head and on the upper back, small holes remain.